MARY’S FRUITCAKE COOKIES
One of the best things about celebrating Christmas is spending time with family and friends. And, of course, one of the added benefits of spending time with family and friends … especially family … is sharing stories, traditions, and yes, recipes!
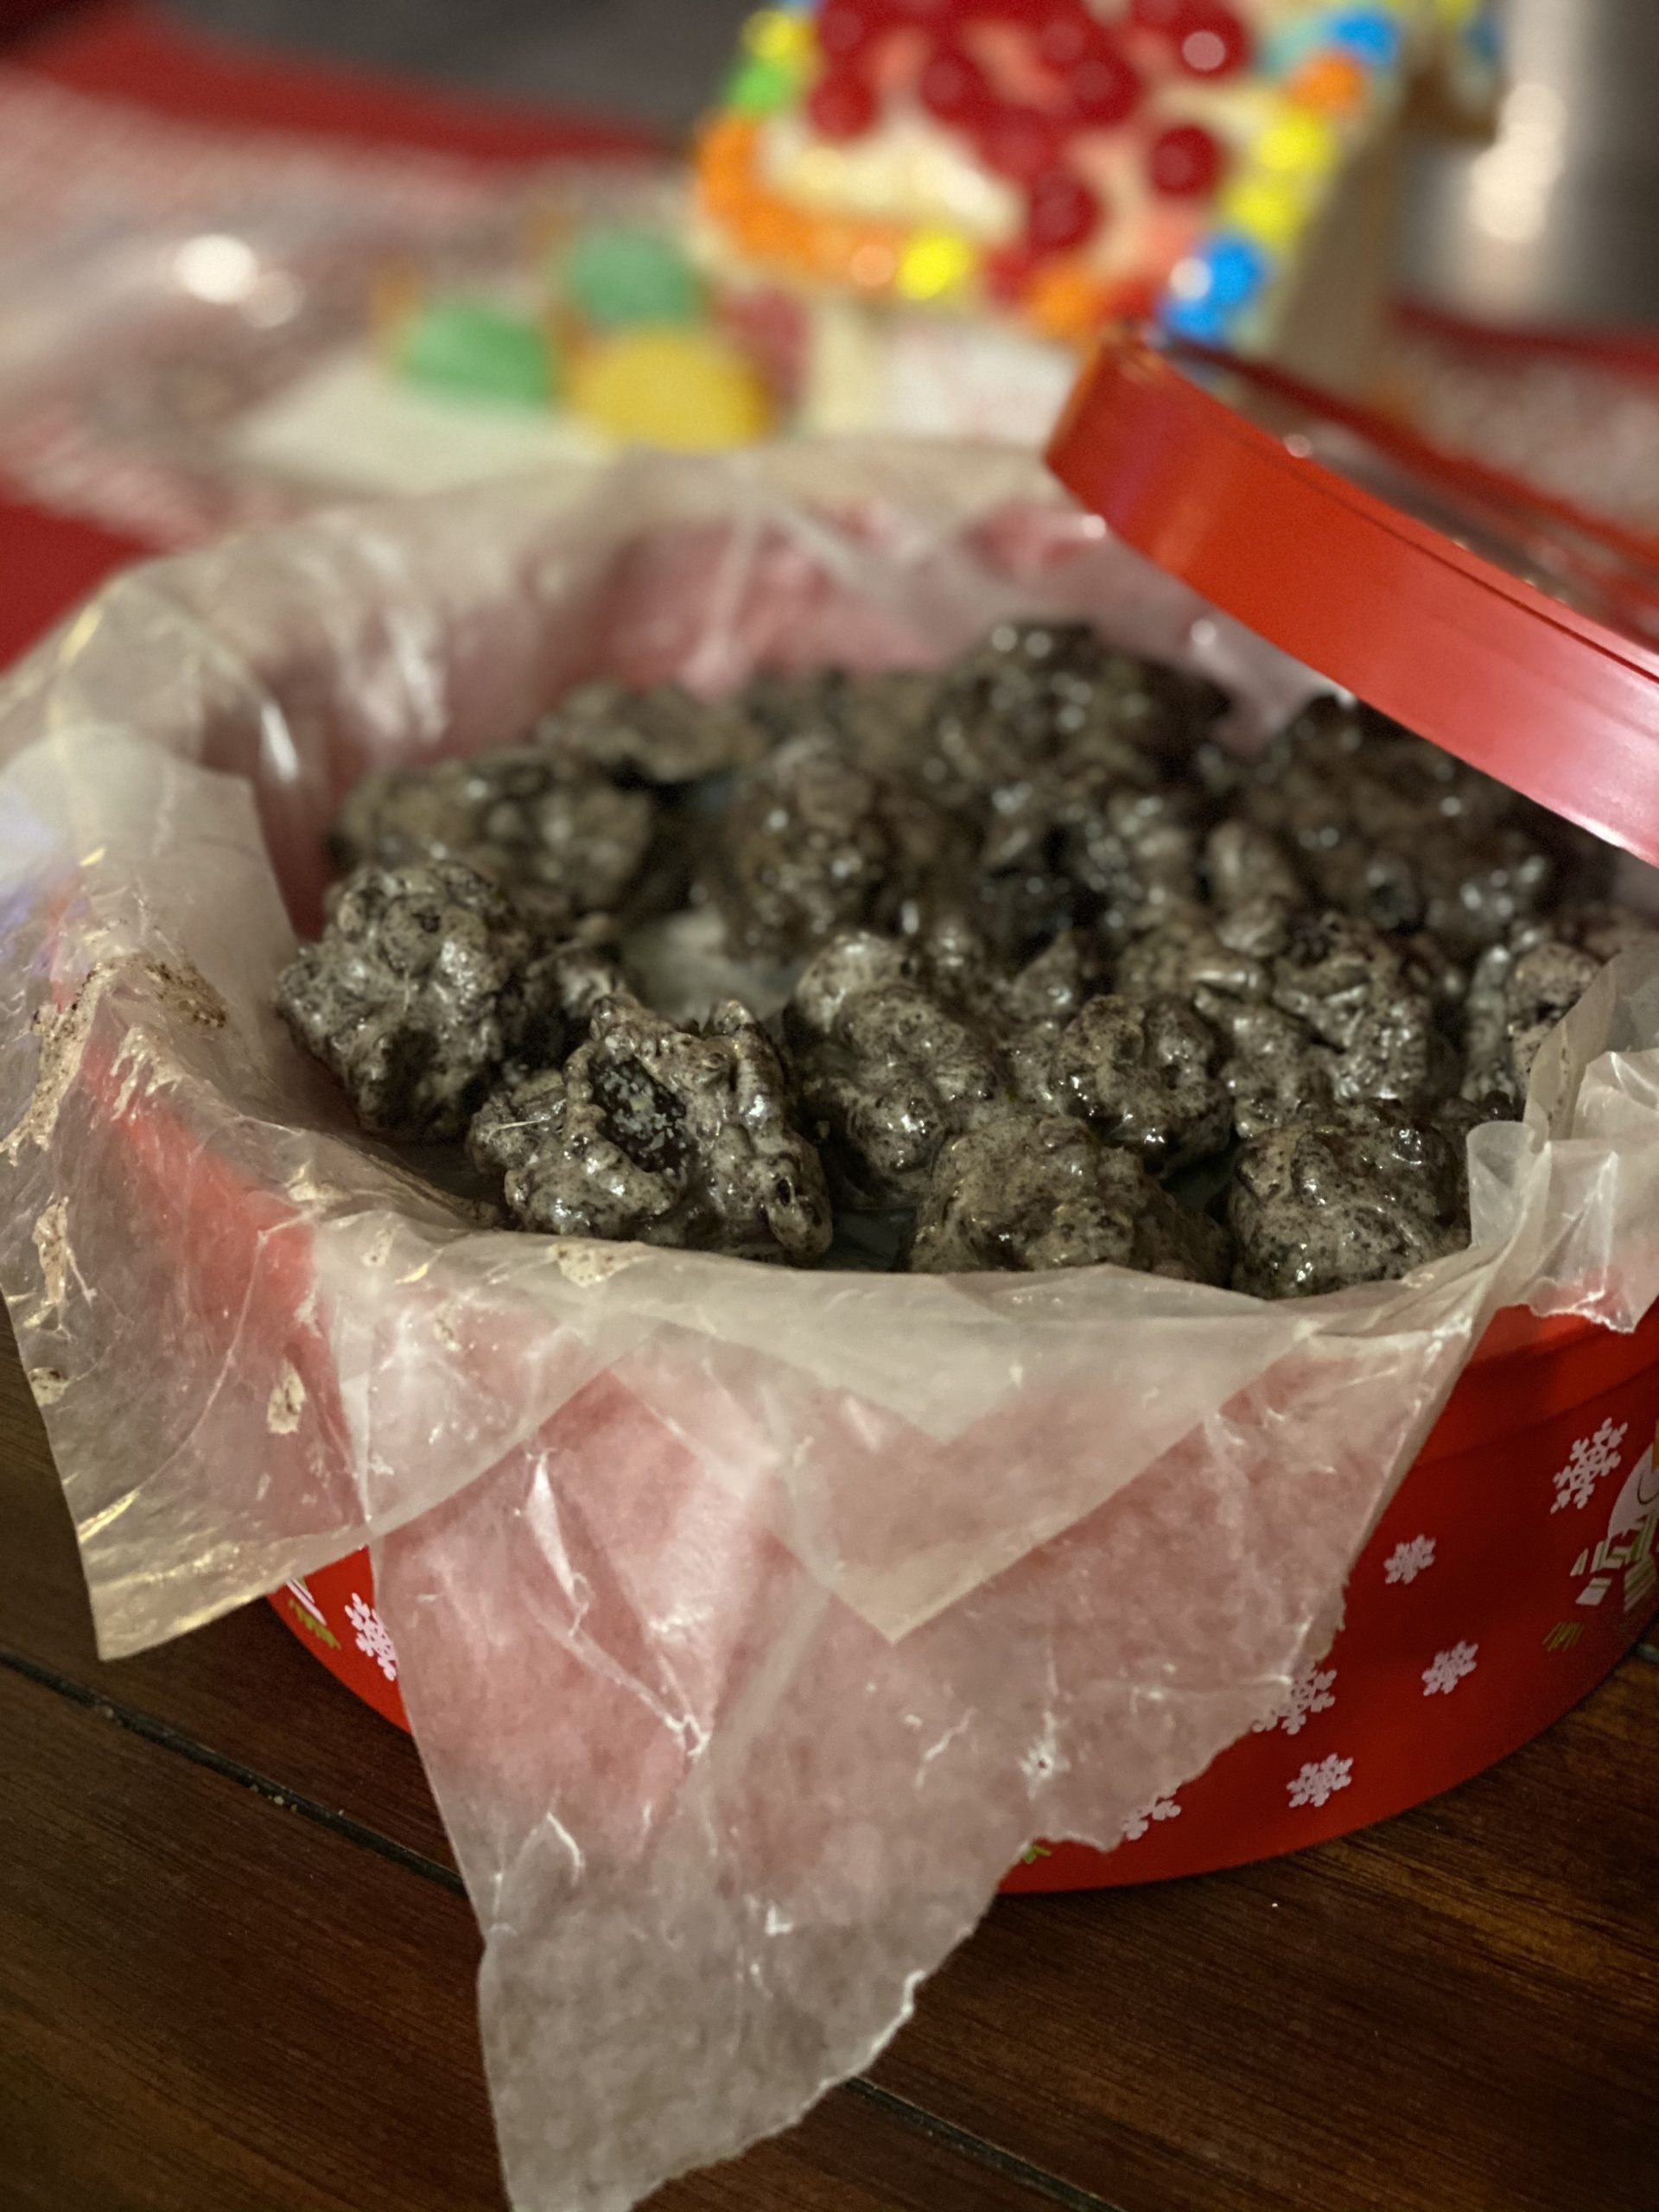
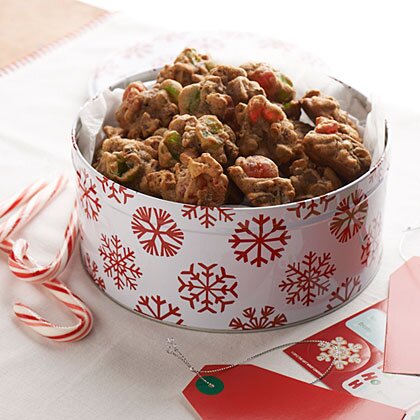
Every family has dishes and special treats that only get made during the holiday season that everyone cannot wait to enjoy as they embrace the jolly and make merry at their gatherings. We certainly have several, but one of the most anticipated treats year after year in our family are my mother-in-law Mary’s Fruitcake Cookies. I grew up enjoying the traditional fruitcake (Claxton is my favorite), but once I married Santa Mom I was introduced to a fabulous take on the Christmas standard. These fruitcake cookies are lighter than a traditional fruitcake slice and are bursting with flavor. Without a doubt, these bite sized treats are ![]() approved and a no-doubter to be included among my favorite Christmas recipes.
approved and a no-doubter to be included among my favorite Christmas recipes.
Ingredients
- 1 cup light brown sugar
- 1 cup margarine (2 sticks)
- 3 cups flour (plain)
- 1/2 tsp salt
- 1 tsp baking soda
- 3 eggs
- 1/2 cup milk
- 2 ts vanilla extract
- 1 lb candied pineapple
- 1 lb candied cherries
- 1 lb dates
- 3/4 lb seedless raisins
- 5 cups broken nuts (walnuts or pecans)
SUPPLIES
- Hand or Countertop mixer
- Measuring cup
- Silicone spatula
- Cookie sheet
- Large mixing bowl
Instructions
- Mix together softened butter and sugar in mixer
- Mix dry ingredients (flour, salt, baking soda)
- Add eggs, milk, and flour mixture, alternating wet and dry ingredients
- Add vanilla extract to mixture
- Combine above batter with chopped nuts and fruit in a large container
- Drop by spoonful directly on to your cookie sheet
- Place in a 275 degree oven for 25 minutes or until slight browning on bottom
- Remove from cookie sheet while hot
- Recipe makes about 90 crunchy and delicious cookies that will keep in a covered container for several weeks
Boxed and tied up with a string, in gift bags bound up with a bow, and perfect to enjoy over a hot cup of cocoa or your favorite coffee with your family and friends, Mary’s Fruitcake Cookies are a wonderful way for everyone to make merry during your next holiday gathering.
From Bethlehem to wherever you are in this old, wide world and from our home to yours, Merry Christmas and Happy Holidays from the Santa Dad! ![]()
